A few weeks ago I wondered why in the Azure Portal some of the resources where flagged as “classic”. The article Understanding Resource Manager deployment and classic deployment provided the answer I was looking for and was the start of an interesting journey into Azure Resource Manager.
If you haven’t heard of Azure Resource Manager yet, I highly recommend reading the Azure Resource Manager overview or watch the Introduction to Azure Resource Manager video available on Channel9 or Deep Dive into Azure Resource Manager Scenarios and Patterns on MVA.
Before I start with my tutorial, let’s make sure you have all the required tools available. Here’s what you need beside an Azure Subscription that allows you to deploy resources.
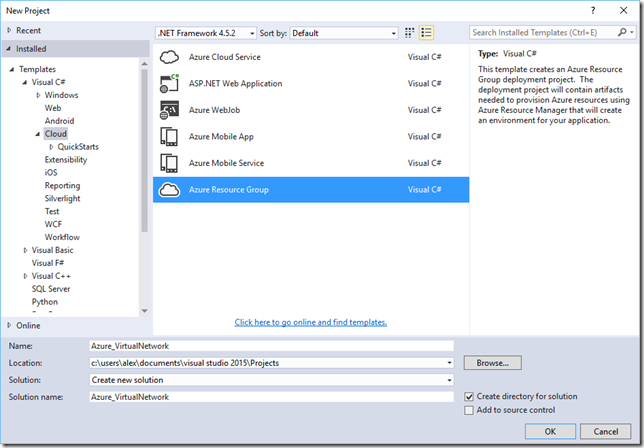
Azure PowerShell 1.0 or great, download and installation details can be found [here](https://azure.microsoft.com/en-us/documentation/articles/powershell-install-configure/)Microsoft Visual Studio Community edition (FREE), unless you prefer to create / edit JSON files in notepad. You can download VS2015 Community edition from [here](https://www.visualstudio.com/en-us/downloads/download-visual-studio-vs.aspx)Microsoft Azure SDK for .NET. You can download this from [here](https://azure.microsoft.com/en-us/downloads/) (select VS2015).Open Visual Studio 2015 and select New Project. then select VisualC# / Cloud / Azure Resource Group
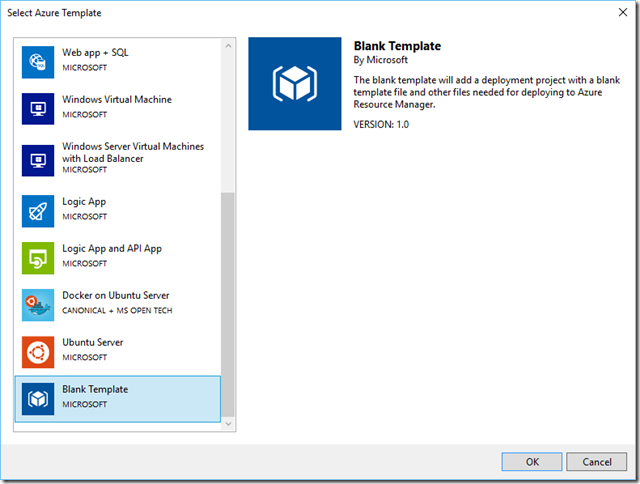
Next Select “Blank Template”
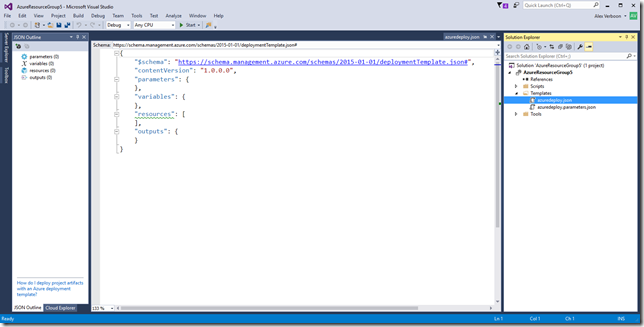
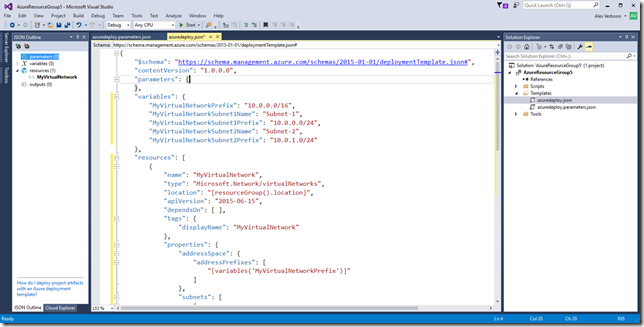
Next select the azuredeploy.json file.
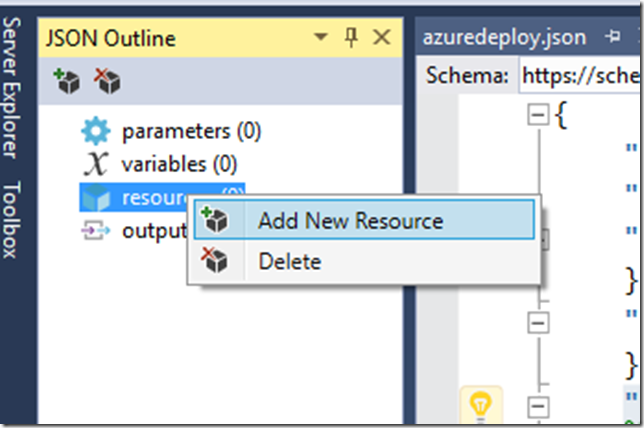
Select Resources, Add New Resource.
Enter a name for the virtual network
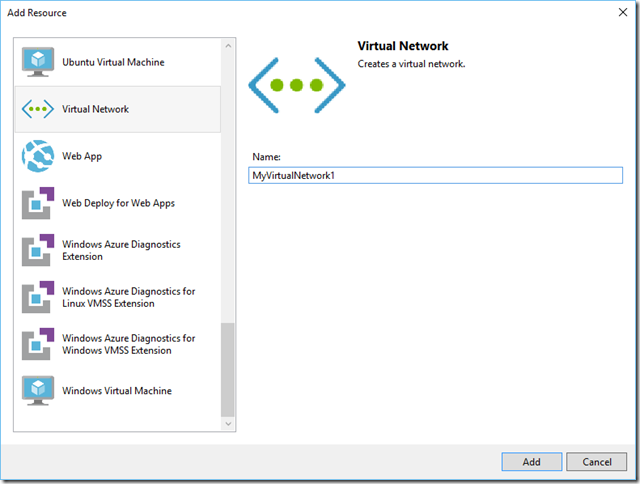
We now have a template file to deploy a virtual network using Azure Resource Manager.
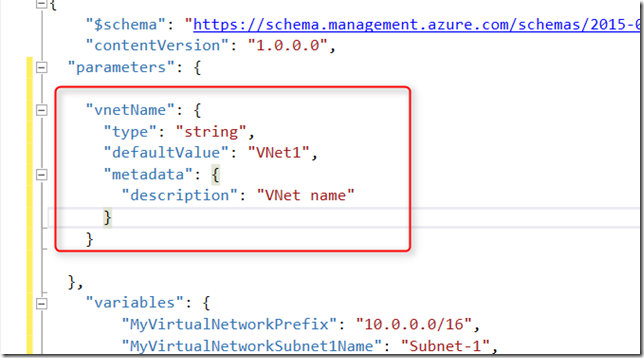
Next we add the following content into the parameters section
“vnetName”: {
“type”: “string”,
“defaultValue”: “VNet1”,
“metadata”: {
“description”: “VNet name”
}
}So now it should look as shown below.
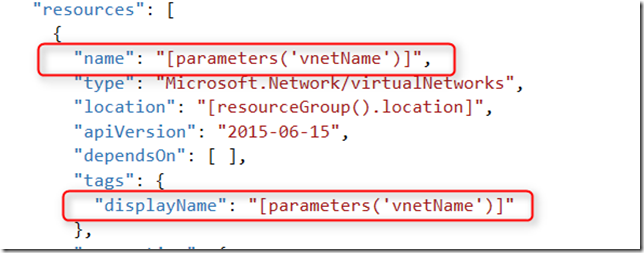
and we replace the hardcoded names shown below with
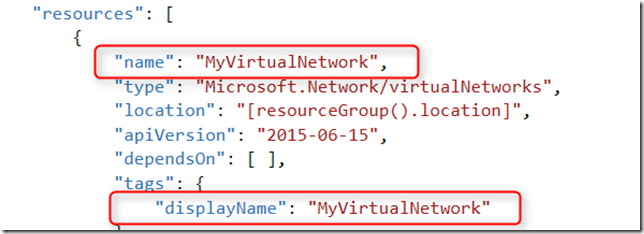
with
“[parameters(‘vnetName’)]”
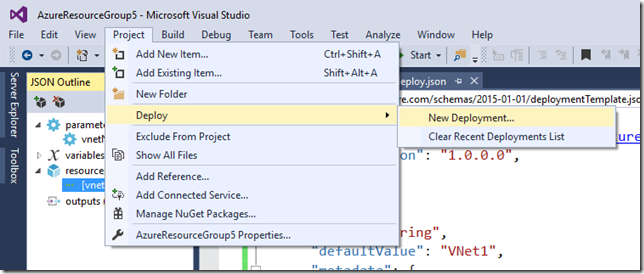
Now let’s deploy the Virtual network we just created using Visual Studio. From the Project Menu, select Deploy, New Deployment.
Select an existing Resource Group or create a new one. Optionally you can select “Edit parameters” , so that you can overwrite the default parameter value that is defined in the template file. For this demo, I edited the parameter and entered “vnetdemo” as the vnetname.
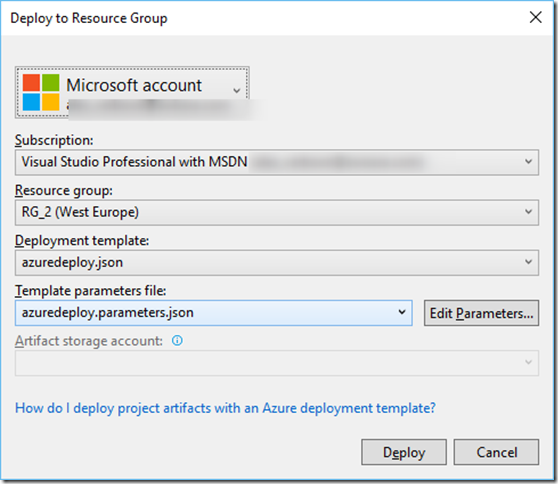
Next select “Deploy” and wait for the deployment to complete.
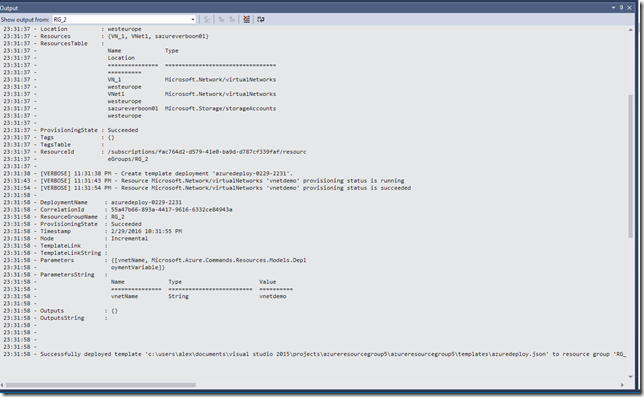
Now let’s head over to the Azure Portal and see how things are there.
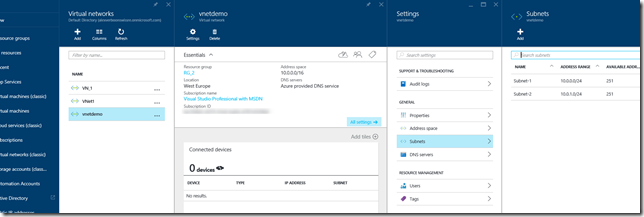
That’s it for today, In Part 2, we’ll take a closer look at using the parameter input file and how to run things directly with PowerShell.